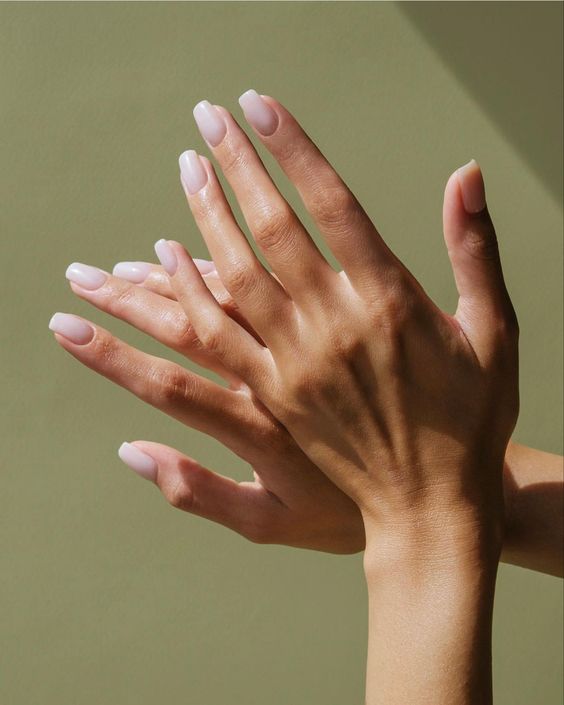
Unlock the secrets to salon-quality nails from the comfort of your own home with Remy Belle Gel Polish. In this comprehensive guide, we'll walk you through the step-by-step process of achieving flawless, long-lasting manicures using Remy Belle's premium gel polish.


-
Choosing the Right Products: Start by selecting the perfect Remy Belle Gel Polish shades for your desired look. Explore our extensive color range and consider your skin tone, occasion, and personal style preferences.
-
Preparing Your Nails: Prep your nails for a perfect application by gently pushing back cuticles and buffing the nail surface. Ensure your nails are clean and dry to promote better adhesion and longevity of your gel manicure.
-
Applying the Base Coat: Begin with a thin, even layer of Remy Belle's Base Coat to create a smooth canvas for your gel polish application. Be sure to cap the edges of your nails to prevent chipping and ensure a long-lasting manicure.
-
Layering the Gel Polish: Apply your chosen Remy Belle Gel Polish color in thin, even coats, curing each layer under our UV lamp. Build up the color gradually to achieve full coverage without bulkiness.
-
Perfecting the Finish: Once you've achieved your desired color intensity, seal your manicure with Remy Belle's Top Coat for a glossy, chip-resistant finish.
-
Curing and Finalizing: After applying the Top Coat, cure your nails one final time to set the gel polish and ensure a long-lasting, professional-quality finish.

With Remy Belle Gel Polish, achieving salon-worthy nails at home has never been easier. Follow these simple steps and unleash your creativity to create stunning gel manicures that rival those of a professional salon. Say goodbye to salon appointments and hello to gorgeous, long-lasting nails with Remy Belle Gel Polish.


