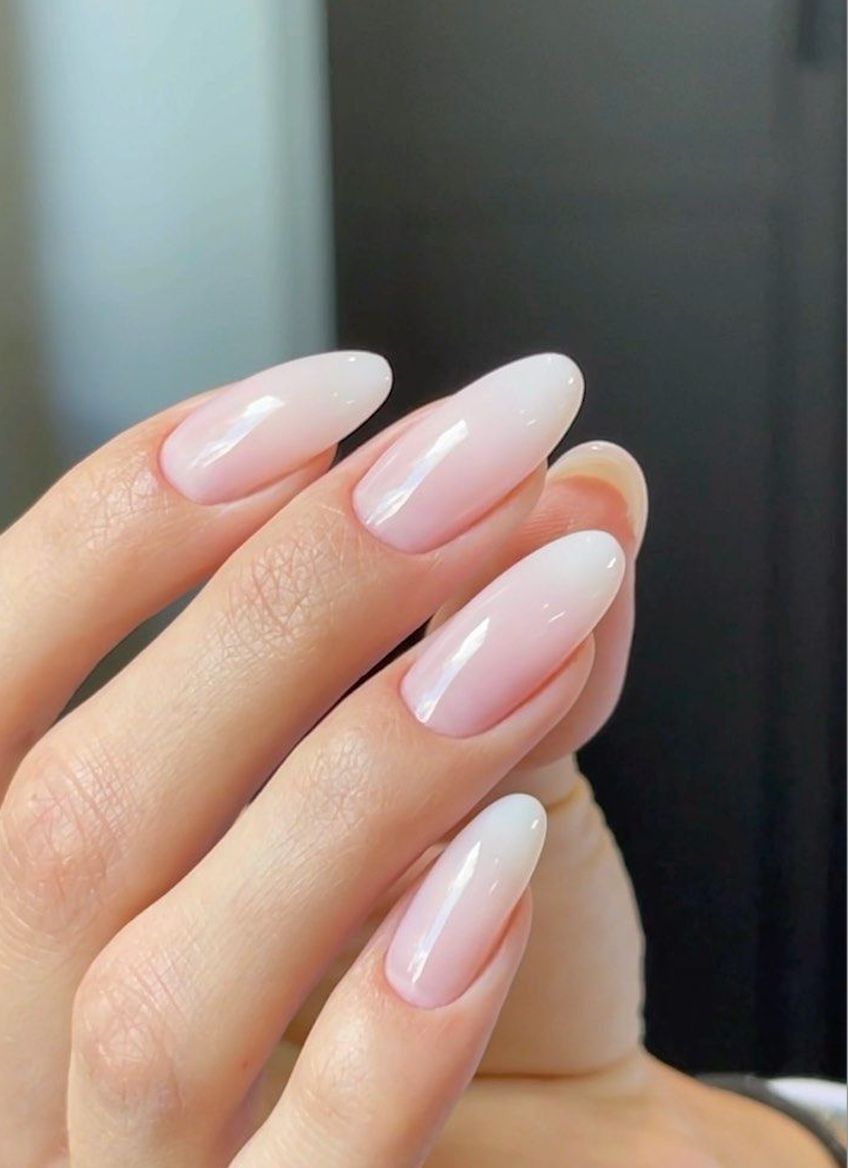
Polygel nails are a fantastic way to achieve strong, beautiful nails that last. However, like any nail enhancement, issues can arise during or after application. Whether you’re a beginner or an experienced nail enthusiast, encountering problems is normal, but they can be easily fixed with the right know-how. In this blog, we’ll cover some of the most common Polygel nail problems and provide practical solutions to ensure your nails look flawless every time.
1. Lifting or Peeling Nails
The Problem: One of the most common issues with Polygel nails is lifting, where the edges of the nail enhancement start to peel away from the natural nail.
The Solution:
- Proper Prep: Ensure your natural nails are clean, dry, and free of oils. Buff the nail surface gently and apply a dehydrator to remove any moisture.
- Thin Application: Avoid applying the Polygel too thickly, especially near the cuticles. A thin, even layer helps prevent lifting.
- Secure Edges: When applying Polygel, make sure to seal the edges of your nails to create a strong bond. Press down gently around the cuticles to ensure there are no gaps.
2. Uneven or Bumpy Surface
The Problem: Polygel nails can sometimes end up with an uneven surface or noticeable bumps, making them look less polished.
The Solution:
- Smooth Application: Use a brush dipped in slip solution to smooth out the Polygel during application. Glide the brush lightly over the surface to even it out before curing.
- Buff and File: After curing, use a nail file or buffer to smooth out any bumps or uneven areas. Start with a coarse file for major imperfections and finish with a fine buffer for a polished look.

3. Polygel Not Curing Properly
The Problem: Sometimes, Polygel doesn’t cure completely, leaving it sticky or soft even after using a UV/LED lamp.
The Solution:
- Correct Lamp Usage: Make sure you’re using a UV/LED lamp that’s compatible with the Polygel you’re using. Follow the recommended curing times—usually 30-60 seconds per layer.
- Thin Layers: Apply the Polygel in thin layers rather than trying to build up thickness in one go. This ensures each layer cures thoroughly.
- Check the Bulbs: If your lamp’s bulbs are old or not working properly, they might not emit enough light to cure the Polygel effectively. Replace bulbs if necessary
4. Cracking or Breaking Nails
The Problem: Polygel nails can crack or break, especially if they’re too thin or applied incorrectly.
The Solution:
- Build Strength: Apply the Polygel in thin layers, curing each one before adding more. This allows you to build strength gradually without making the nails too thick.
- Avoid Over-filing: Be careful not to over-file the nails during shaping, as this can weaken the structure and lead to cracks.
- Use a Strong Base: Ensure you’re using a quality base coat that adheres well to your natural nail and provides a solid foundation for the Polygel.
Polygel nails are a great way to achieve long-lasting, beautiful nails, but like any beauty technique, they require a bit of practice and troubleshooting. By understanding these common problems and applying the solutions provided, you can enjoy flawless Polygel nails every time. With Remy Belle Polygel, you’re equipped with a high-quality product that, when used correctly, will give you salon-worthy results at home.


